Planned DIY Projects
Picture Frame Card Box ~ In-Progress
Monogram ~ Done!
Invitations ~ Done!
Haute Inspired Bracelet ~ Done!
Photo Guestbook ~ Done!
Mrs. Hoodie ~ Done!
Timeline/Newsletter ~ Done!
Shoe Bling
Monogram ~ Done!
Invitations ~ Done!
Haute Inspired Bracelet ~ Done!
Photo Guestbook ~ Done!
Mrs. Hoodie ~ Done!
Timeline/Newsletter ~ Done!
Shoe Bling
Picture Frame Card Box
First off, thanks to Knottie Buttaflai and Road to the Aisle Heather for your thorough DIY instructions. I don't think I would have taken this project on if I hadn't had your instructions to get me started. Also, thanks to my dad for helping me out! I think if I had tried this project on my own, I would have been defeated before I even started. He made this easy and we had fun doing it!
Materials:
4 - 8"x10" Picture Frames
12 - L-Shaped Corner Braces (19mmx12mm)
24 - 8x1/2 screws (to secure corner braces)
4 - 1.5" Narrow Hinges
1 - 12"x12" piece of plywood (for bottom)
2 - 6"x12" pieces of plywood (for top)
1 - Lazy Susan
Fabirc and batting to cover top
Drill
Screw Driver
Staple Gun
Step 1
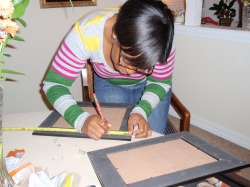
I started by measuring 3' from the top and bottom for where I would place the corner braces.
Step 3
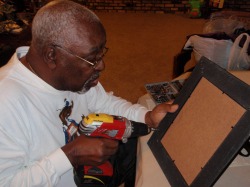
My dad drilled pilot (starter holes) based on where I marked the frames.
To be continued . . .
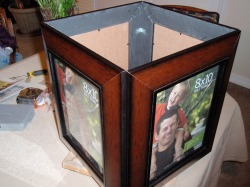
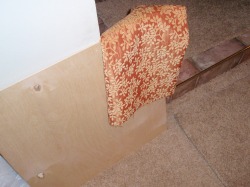
Here is what I have so far!
To be continued . . .

Here is the fabric draped over the box. Picking a fabric was difficult, but I'm happy with what I got. My dad and I plan to finish the project when I come back home in two weeks. Stay tuned!
Step 2

To help the process, I held the frames flush to each other and traced the holes of the brace for where we would drill.
Step 4
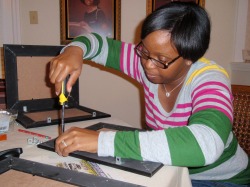
Used the small screws to secure the corner braces and attach all four frames together.
To be continued . . .
We didn't have the materials at the house to cut the plywood for the base and top. Also, this is the fabric I plan to use to cover the top.
Monogram

This is my attempt at DIY monogram. I've printed on some labels that I will use to secure our favors. I'm not sure yet where else it will be used.
Invitations
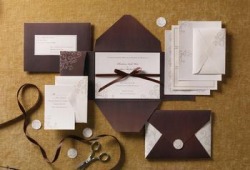
I used BRIDES® Chocolate Pocket Invite Kit from Michael's. Using my 50% off coupon, I paid less than $20 for 30 invites. They were easy to print using my home computer and printer and I just embelished with a little ribbon.
Materials:
1 - BRIDES® Chocolate Pocket Invite Kit
1 - Spool 7/8" x 15 yds Organza Ribbon
2 - Spools 3/8" x 15 ft Satin Ribbon
Fabric Glue
Scissors
Inkjet Printer
Materials:
1 - BRIDES® Chocolate Pocket Invite Kit
1 - Spool 7/8" x 15 yds Organza Ribbon
2 - Spools 3/8" x 15 ft Satin Ribbon
Fabric Glue
Scissors
Inkjet Printer
Step 1 - Print Invitations
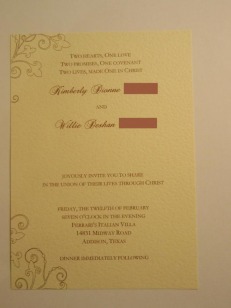
I first found the template for my invitations from Gartner Studios as directed on the invitations. I opted for the portrait instead of landscape to fit the wording I found. After finding wording I liked, I printed them on my home inkjet printer. I highly suggest feeding them manually (one at a time). When I got impatient and fed more, they didn't come out straight. You can find the wording for my invites below.
Step 3 - Ribbon #1
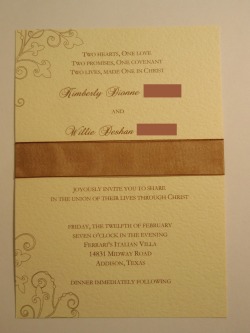
To bring in my wedding colors, I used 7/8" brown organza riboon from Hobby Lobby. I affixed it only to the back using a fabric glue stick.
Step 2 - Print RSVP Cards
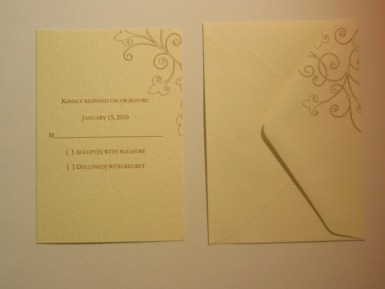
Again, I would suggest manually feeding the RSVP cards as well. The template I used was also on Gartner Studios, as well as the fonts I used.
Step 4 - Ribbon #2
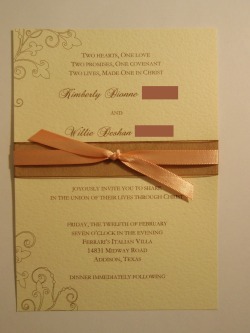
The second ribbon is 3/8" peach satin ribbon from Hobby Lobby as well. I only tied it in front and used a few dots of Scotch Quick Dry Adhesive to keep it in place.
Step 5 - Assemble
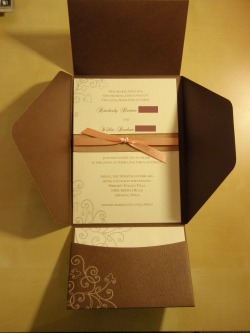
This picture isn't aligned very well, but I would suggest putting in the RSVP and envelope first, then align the placement of the invitation to match. The invitation set came with some foam square adhesives to affix the invitation to the pocket envelope. I put one at each corner, since I wasn't using all thirty invitations. I think there's only actually enough to use two per invite.
Step 6 - Return Address & Seal
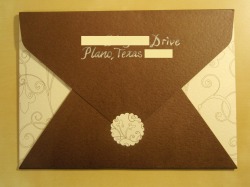
A friend of mine address the envelopes and I used the included stickers to seal the envelopes. After letting the invite sit for a while, I realized that the sticker is not going to hold, so I'm going to use some double-sided tape to secure the seal.
Step 7 - Address & Stamp
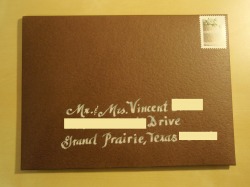
Weighed the complete set at the post office and a $0.61 stamp covered it. Had to use a $0.44 stamp on the RSVP envelopes. Such a rip off! If I didn't like this set so much, I would have gone with a postcard RSVP to save on postage.
Invitation Wording
Two hearts, One love
Two promises, One covenant
Two lives, made One in Christ
Kimberly Last Name
and
Willie Last Name
joyously invite you to share
in the union of their lives through Christ
friday, the twelfth of february
seven o’clock in the evening
Ferrari’s Italian Villa
14831 Midway Road
Addison, Texas
dinner immediately following
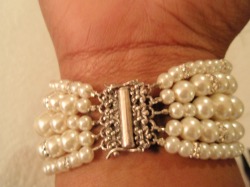
Haute Inspired Bracelet
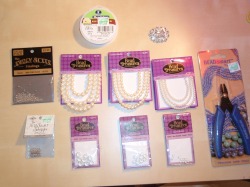
Materials (all from Habby Lobby, except for the brooch):
1 - Brooch from ebay seller, LAFancyBeads
1 - Bead Stringing Wire - .018 in, .46 mm, Nylon Coated Stainless Steel-(by Beadalon)
1 - 5-Strand Clasp (by The Jewelry Shoppe, Sterling Silver)
1 - 2mm Crimp Beads (by The Jewelry Shoppe Findings)
1 - 8mm Glass Ecru Pearls - 50 pcs (by Bead Treasures)
1 - 6mm Glass Ecru Pearls - 50 pcs (by Bead Treasures)
1 - 4mm Glass Ecru Pearls - 50 pcs (by Bead Treasures)
1 - 8mm Crystal Rondelle - 8 pcs (by Bead Treasures)
1 - 6mm Crystal Rondelle - 10 pcs (by Bead Treasures)
2 - 4mm Crystal Rondelle - 10 pcs (by Bead Treasures)
1 - Micro Crimper (by BEADSmart)
Just an FYI -My directions are a little different from those I've seen on other bios. Mainly because, I used a different brooch than most Knotties have used, and I really wanted the pearl strands to run underneath the brooch instead of attaching to each end.
Step 1 - Cut 5 pieces of wire

I cut the wire much longer than needed to fit my wrist.
Step 3 - After beading, attach to other end of clasp

Use the same method in step 2: After I finished beading my desired pattern of pearls and rondelles and to my desired size, I strung the wire through a crimp bead, the clasp, and looped back through the crimp bead. I then trimmed the wire down.
Step 5 - Attach the brooch
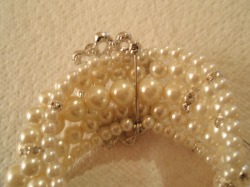
I just put all the strands in the pin of the brooch. It was a tight fit, but it fit. I probably should have left a little room on each strand. I think I should probably run some wire to attach the brooch to the bracelet in more places and figure a way to keep the pin closed, but it's good for now. I love it!
Step 2 - Attach wire to clasp
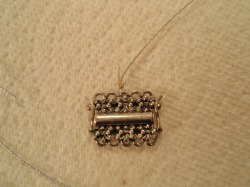
I strung the wire through a crimp bead, the clasp, and looped back through the crimp bead. I then trimmed the wire down. I chose to start with the center one since that would be the strand with the largest beads.
Step 4 - Repeat steps 2-3 for the other 4 strands
I worked from the inside out.
The Finished Product!
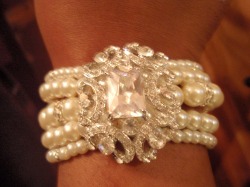
I'm very happy with the finished product!
Total cost - $38 - Much cheaper than the $85 one I saw by an etsy seller! Yay!
Total cost - $38 - Much cheaper than the $85 one I saw by an etsy seller! Yay!
Photo Guestbook
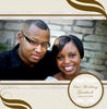
I saw an awesome photo buestbook done by a professional photographer that really inspired me, but I know absolutely nothing about photshop and software like that. So, I found a template I liked on Mixbook.com and changed up some of the wording to get what I was looking for. See the full book HERE.
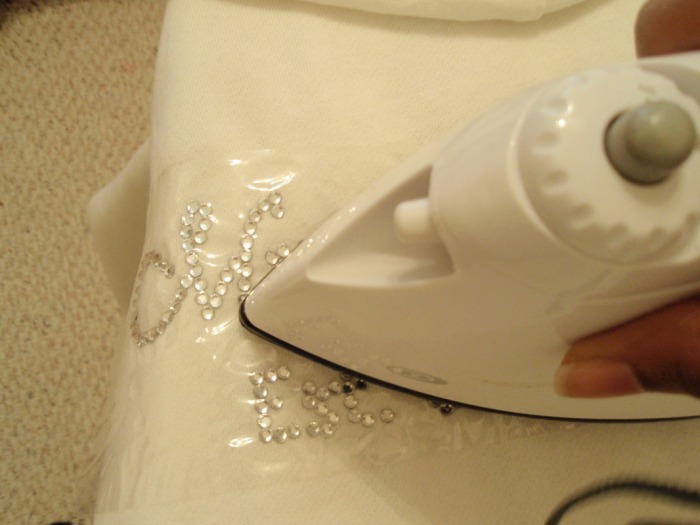
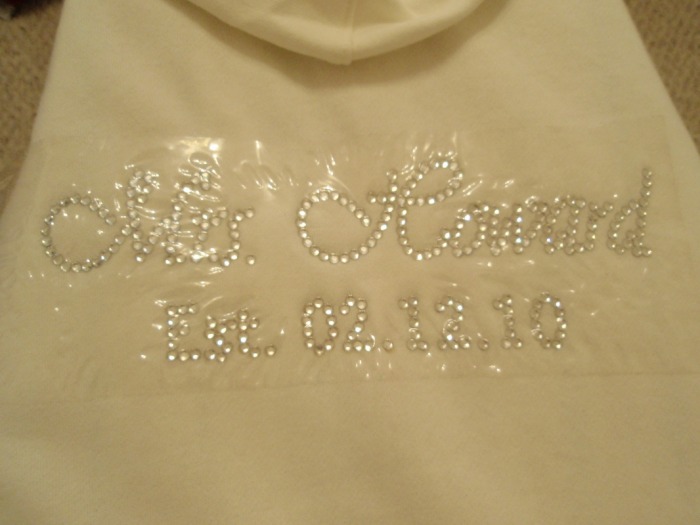
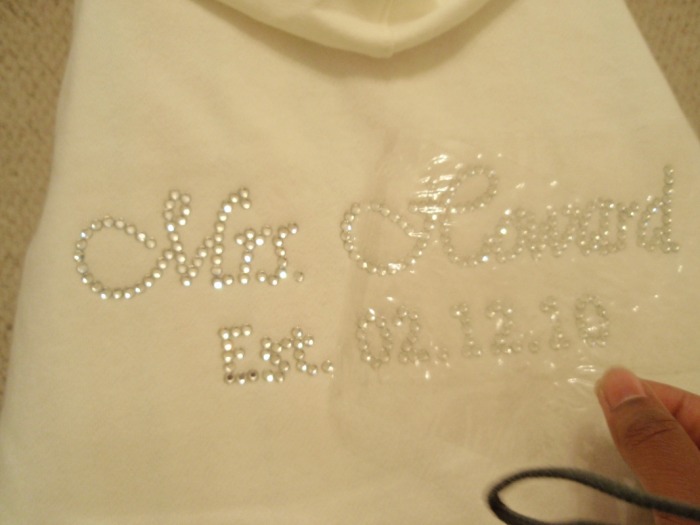
Mrs. Hoodie
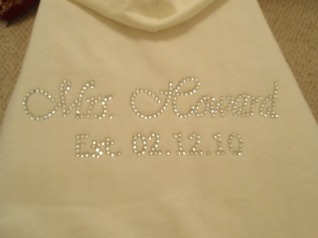
I bought my hoodie from Old Navy for $10 on Thanksgiving Day! Woohoo! And I ordered my transfer from etsy seller, CustomBlingApparel.
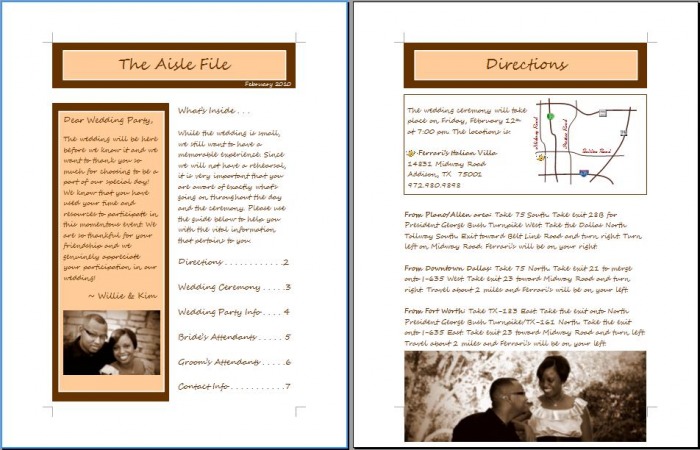
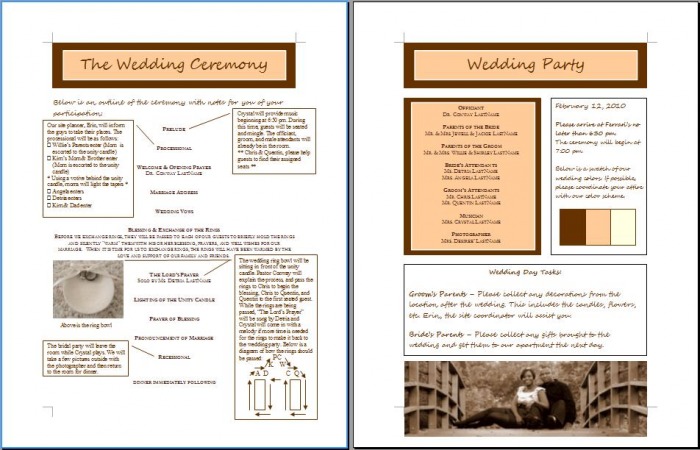
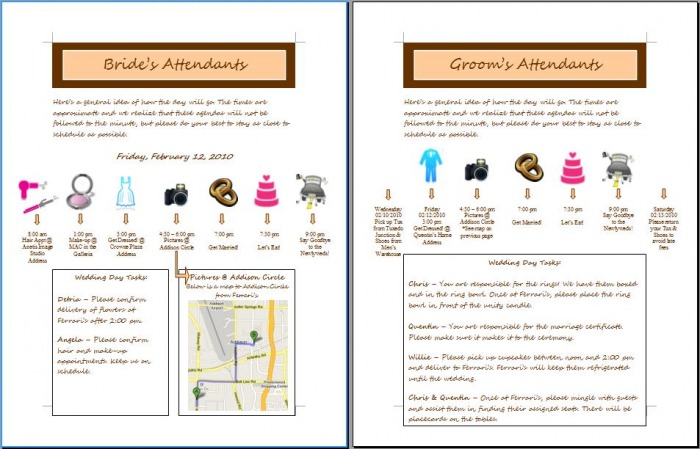
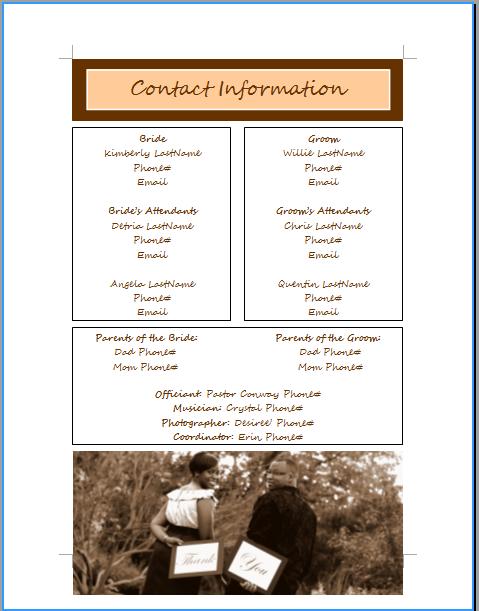
Timeline/Newsletter
Since we decided to have a small wedding and no rehearsal, it was really important that everyone was aware of what was going on throughout the day and the ceremony. I finally finished! If I figure out how to add a link to the file, I will. Otherwise, just contact me for the file.
Shoe Bling
My "Something Blue" will be mine and my fiance's initials on th bottom of one shoe and our wedding date on the other in blue rhinestones. I plan to use the instructions found HERE.
